
Mondays used to be a day I didn’t like, because it would inevitably end up as a day of meetings and paperwork. But now paperwork has a different connotation when it means getting messy with ink and being creative!
Last night I sat down with my sketchbook and drew the outlines of some of my new favourite flowers - Zinnias! I hadn’t really clocked them before, but when I saw the little crown of stars they have in their middles I fell in love. I’ve painted them a few times, but I’ve been meaning to make them into a lino print for a while and last night felt like the night.
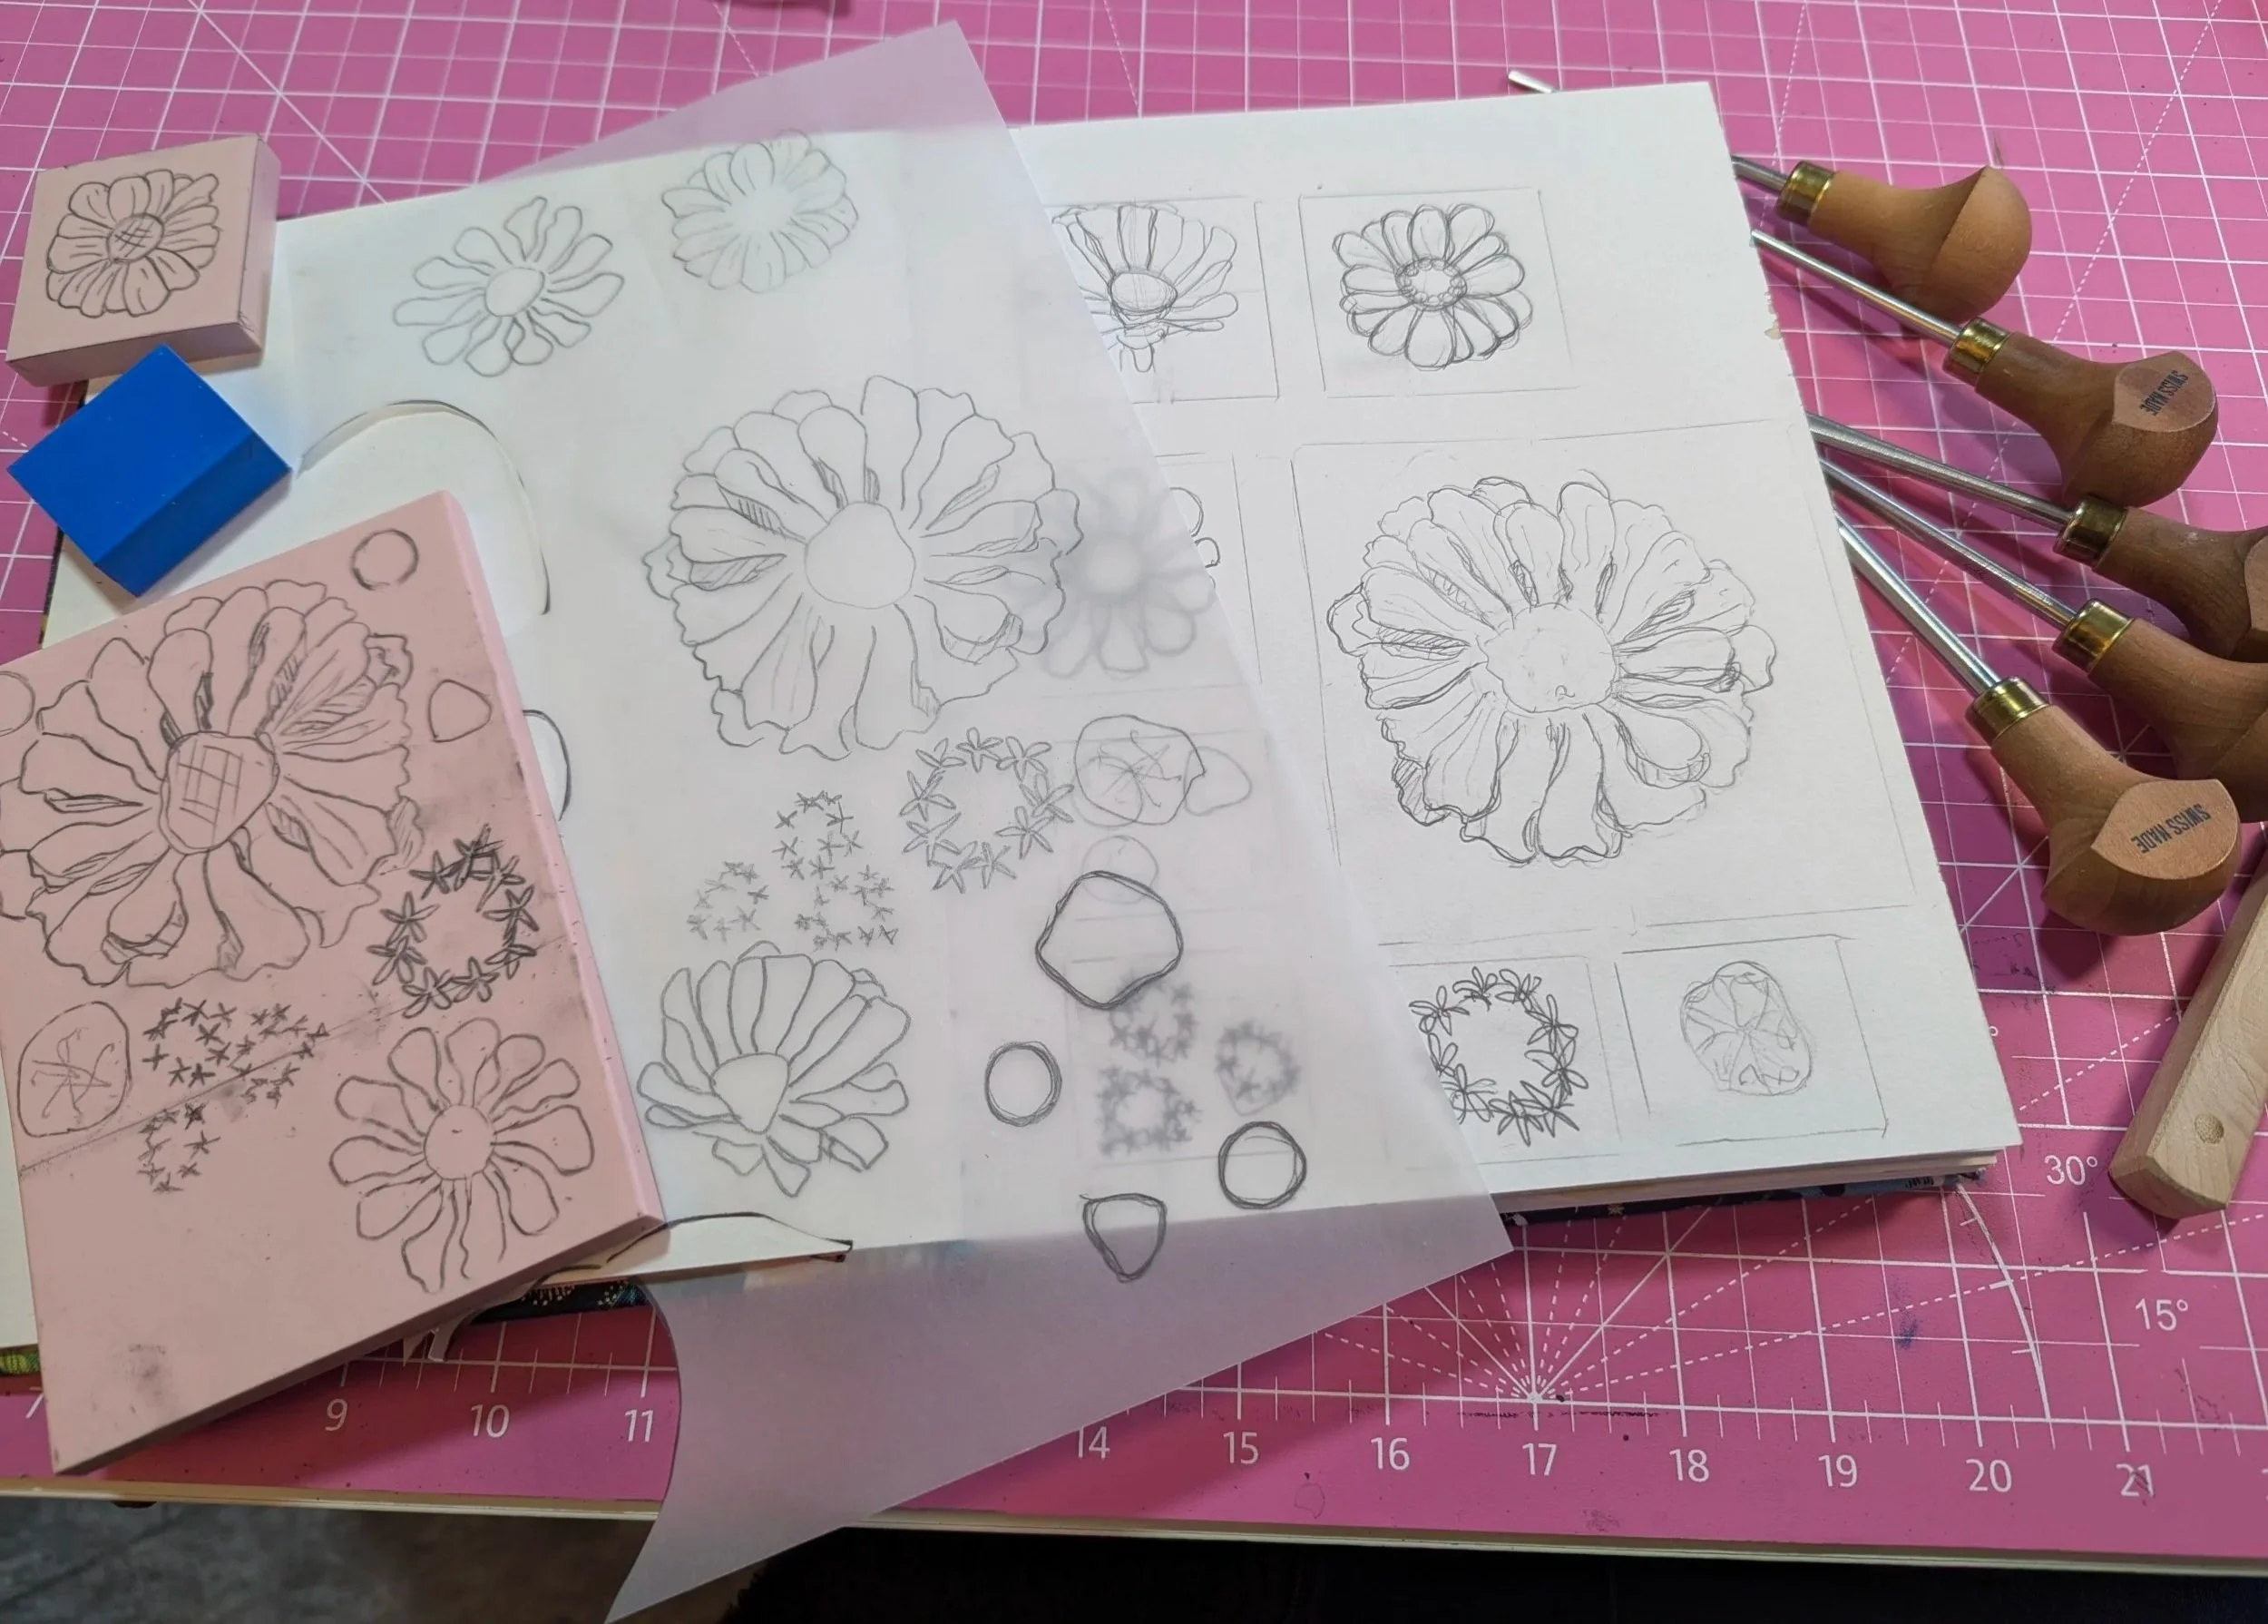
Sketches, the transfer onto tracing paper and then onto a rubber block (in reverse), ready to carve
As well as carving the blocks today, I decided that I wanted to do some experimenting with fabric printing rather than onto paper. I did my test prints into my sketch book as usual, but also found some offcuts of cotton and velvets to play with.
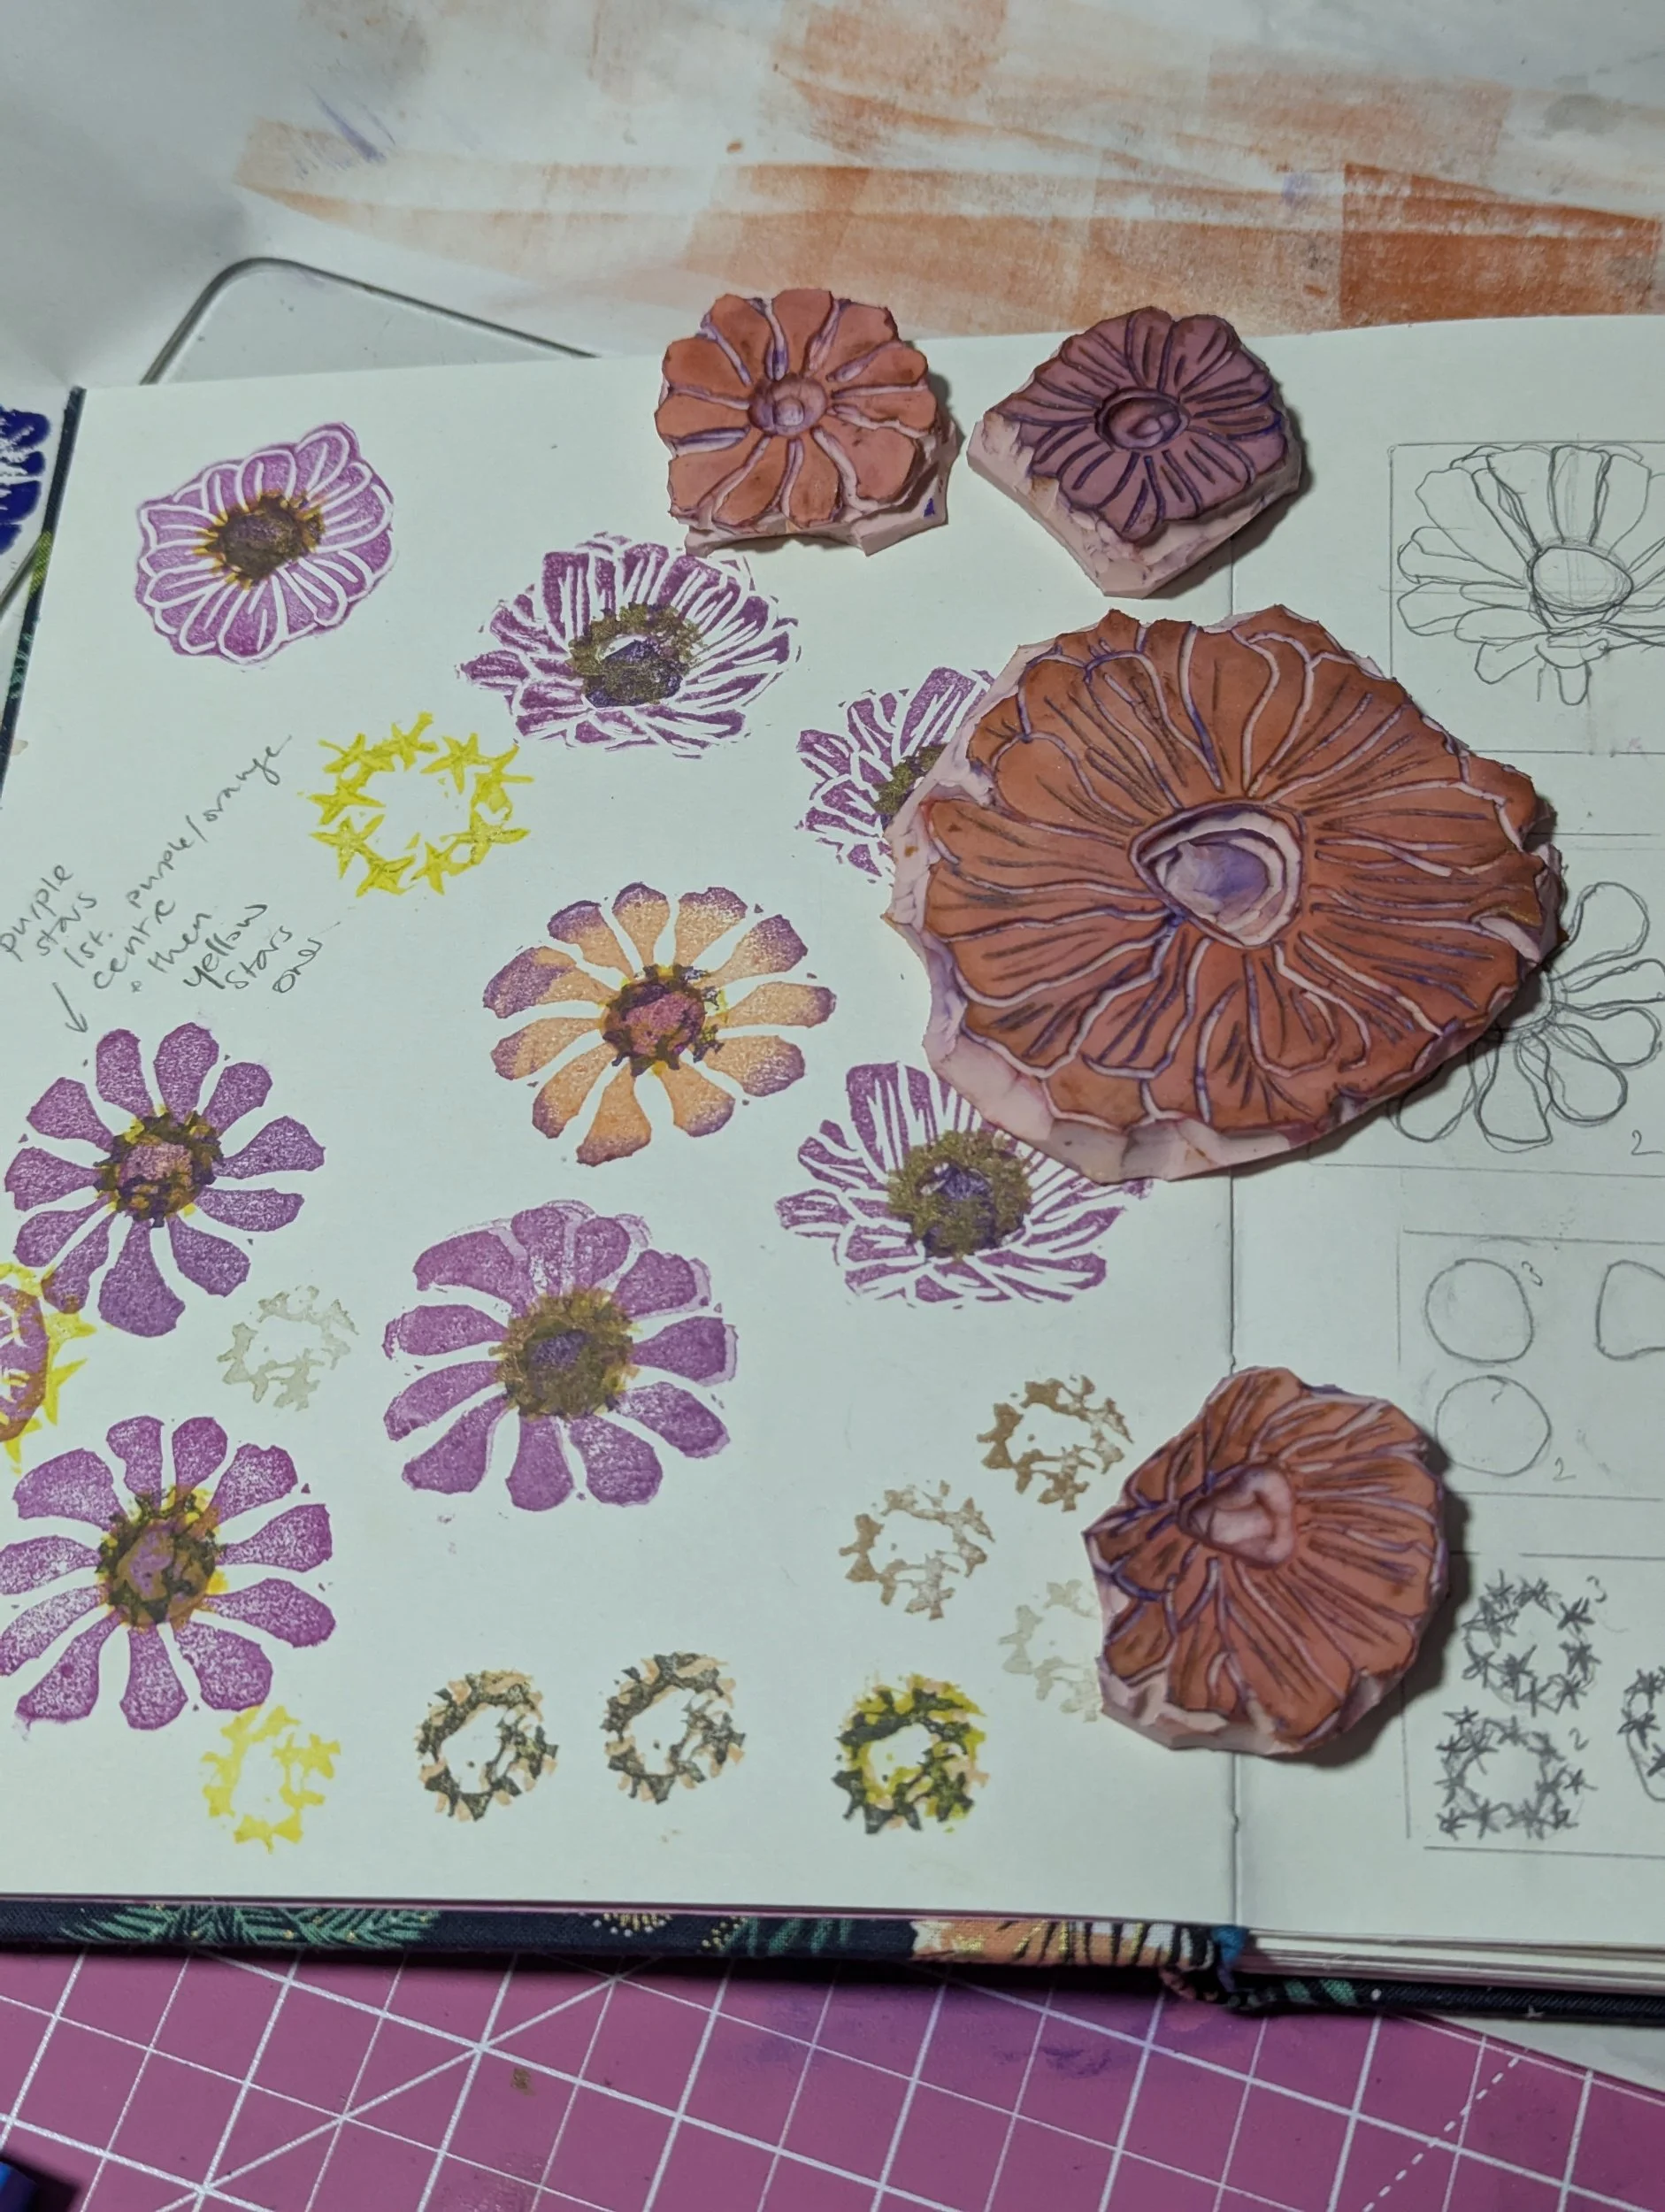
Test prints in my sketch book along with the original line drawings. It takes a bit of experimenting to get the layering and colours right - but also I love to flip through to see the raw first goes at each print in one place.
When I first started with lino printing it was with the traditional oil based relief inks and I was doing print runs of the same image in one or two colours, printed from traditional, static lino plates. Last year, however, I made a switch to smaller rubber blocks, modular designs using multiple blocks, and archival ink pads - way less messy and much quicker to dry. But they weren’t going to cut it where printing on fabric was concerned, so out came the relief inks again, and the palette knife, and I got to work mixing colours.
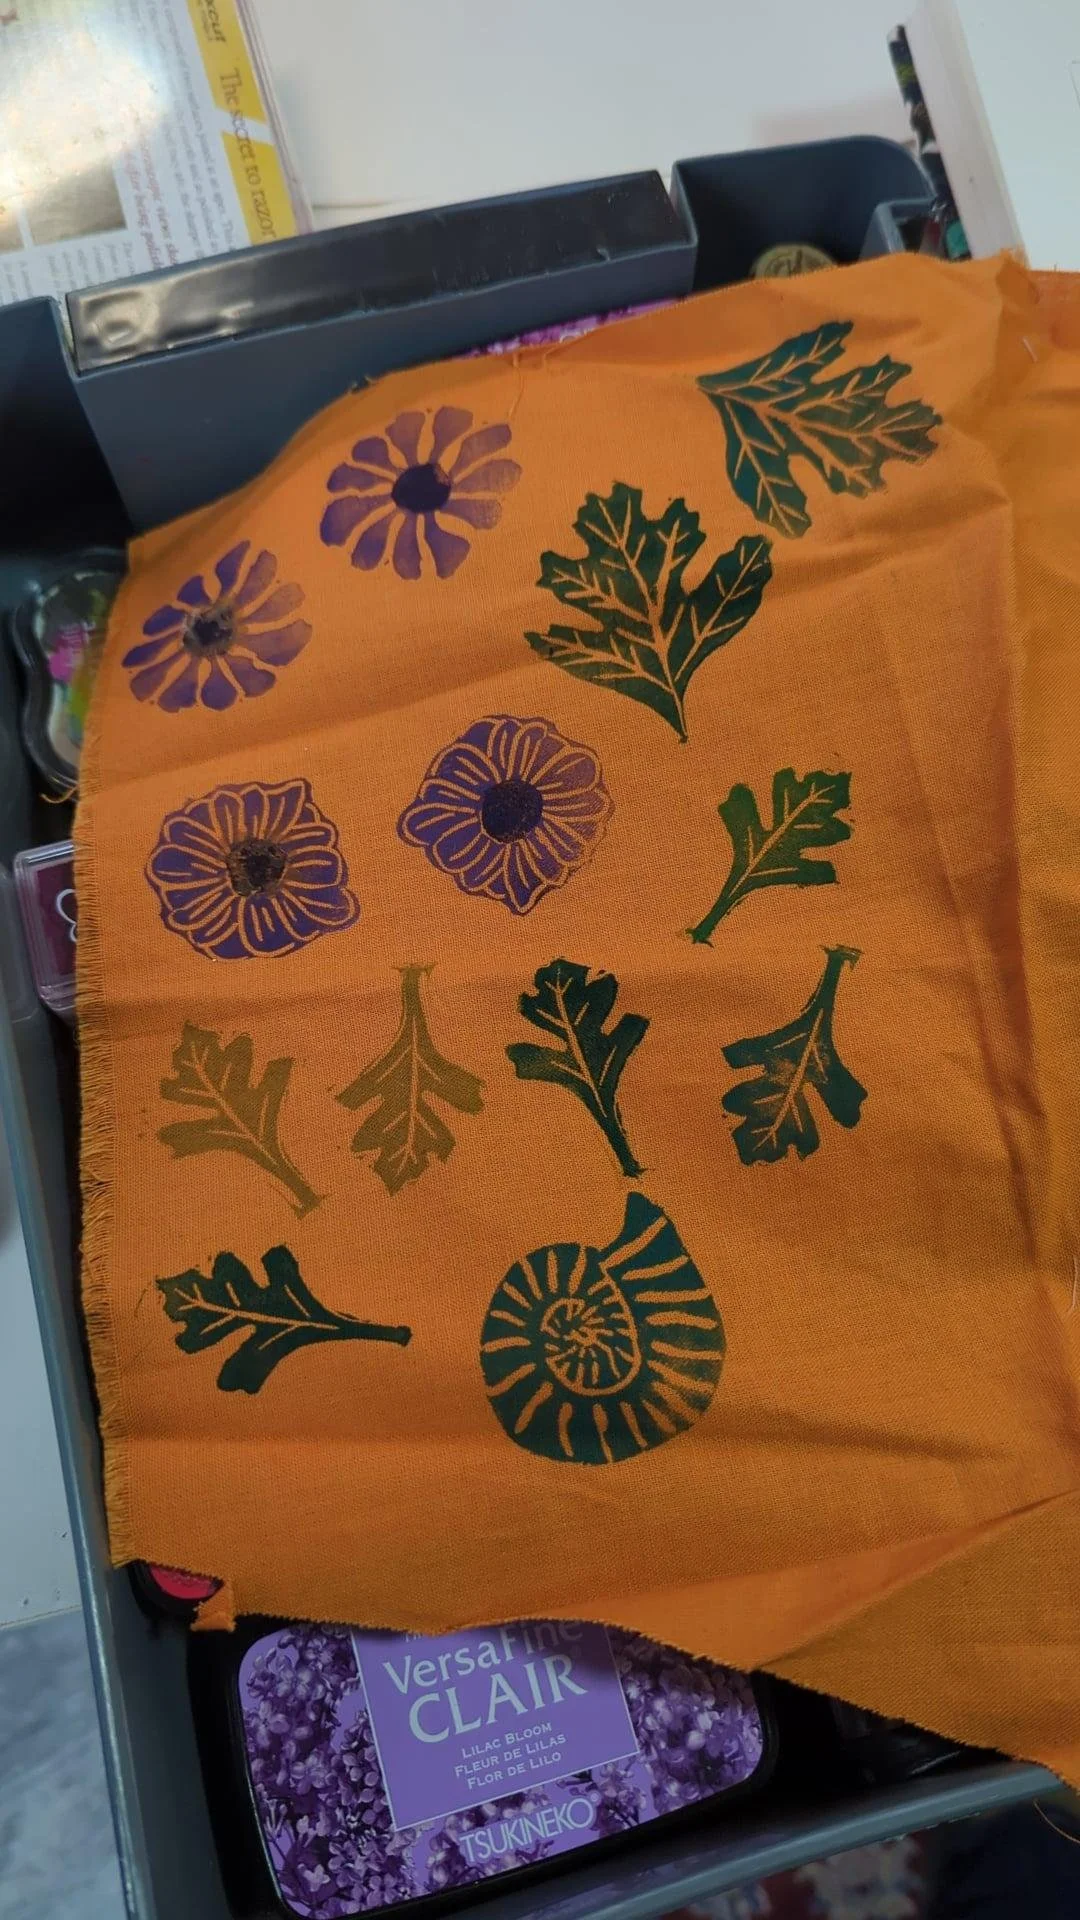
First test prints on some orange cotton material - the green is actually more blue, believe it or not!
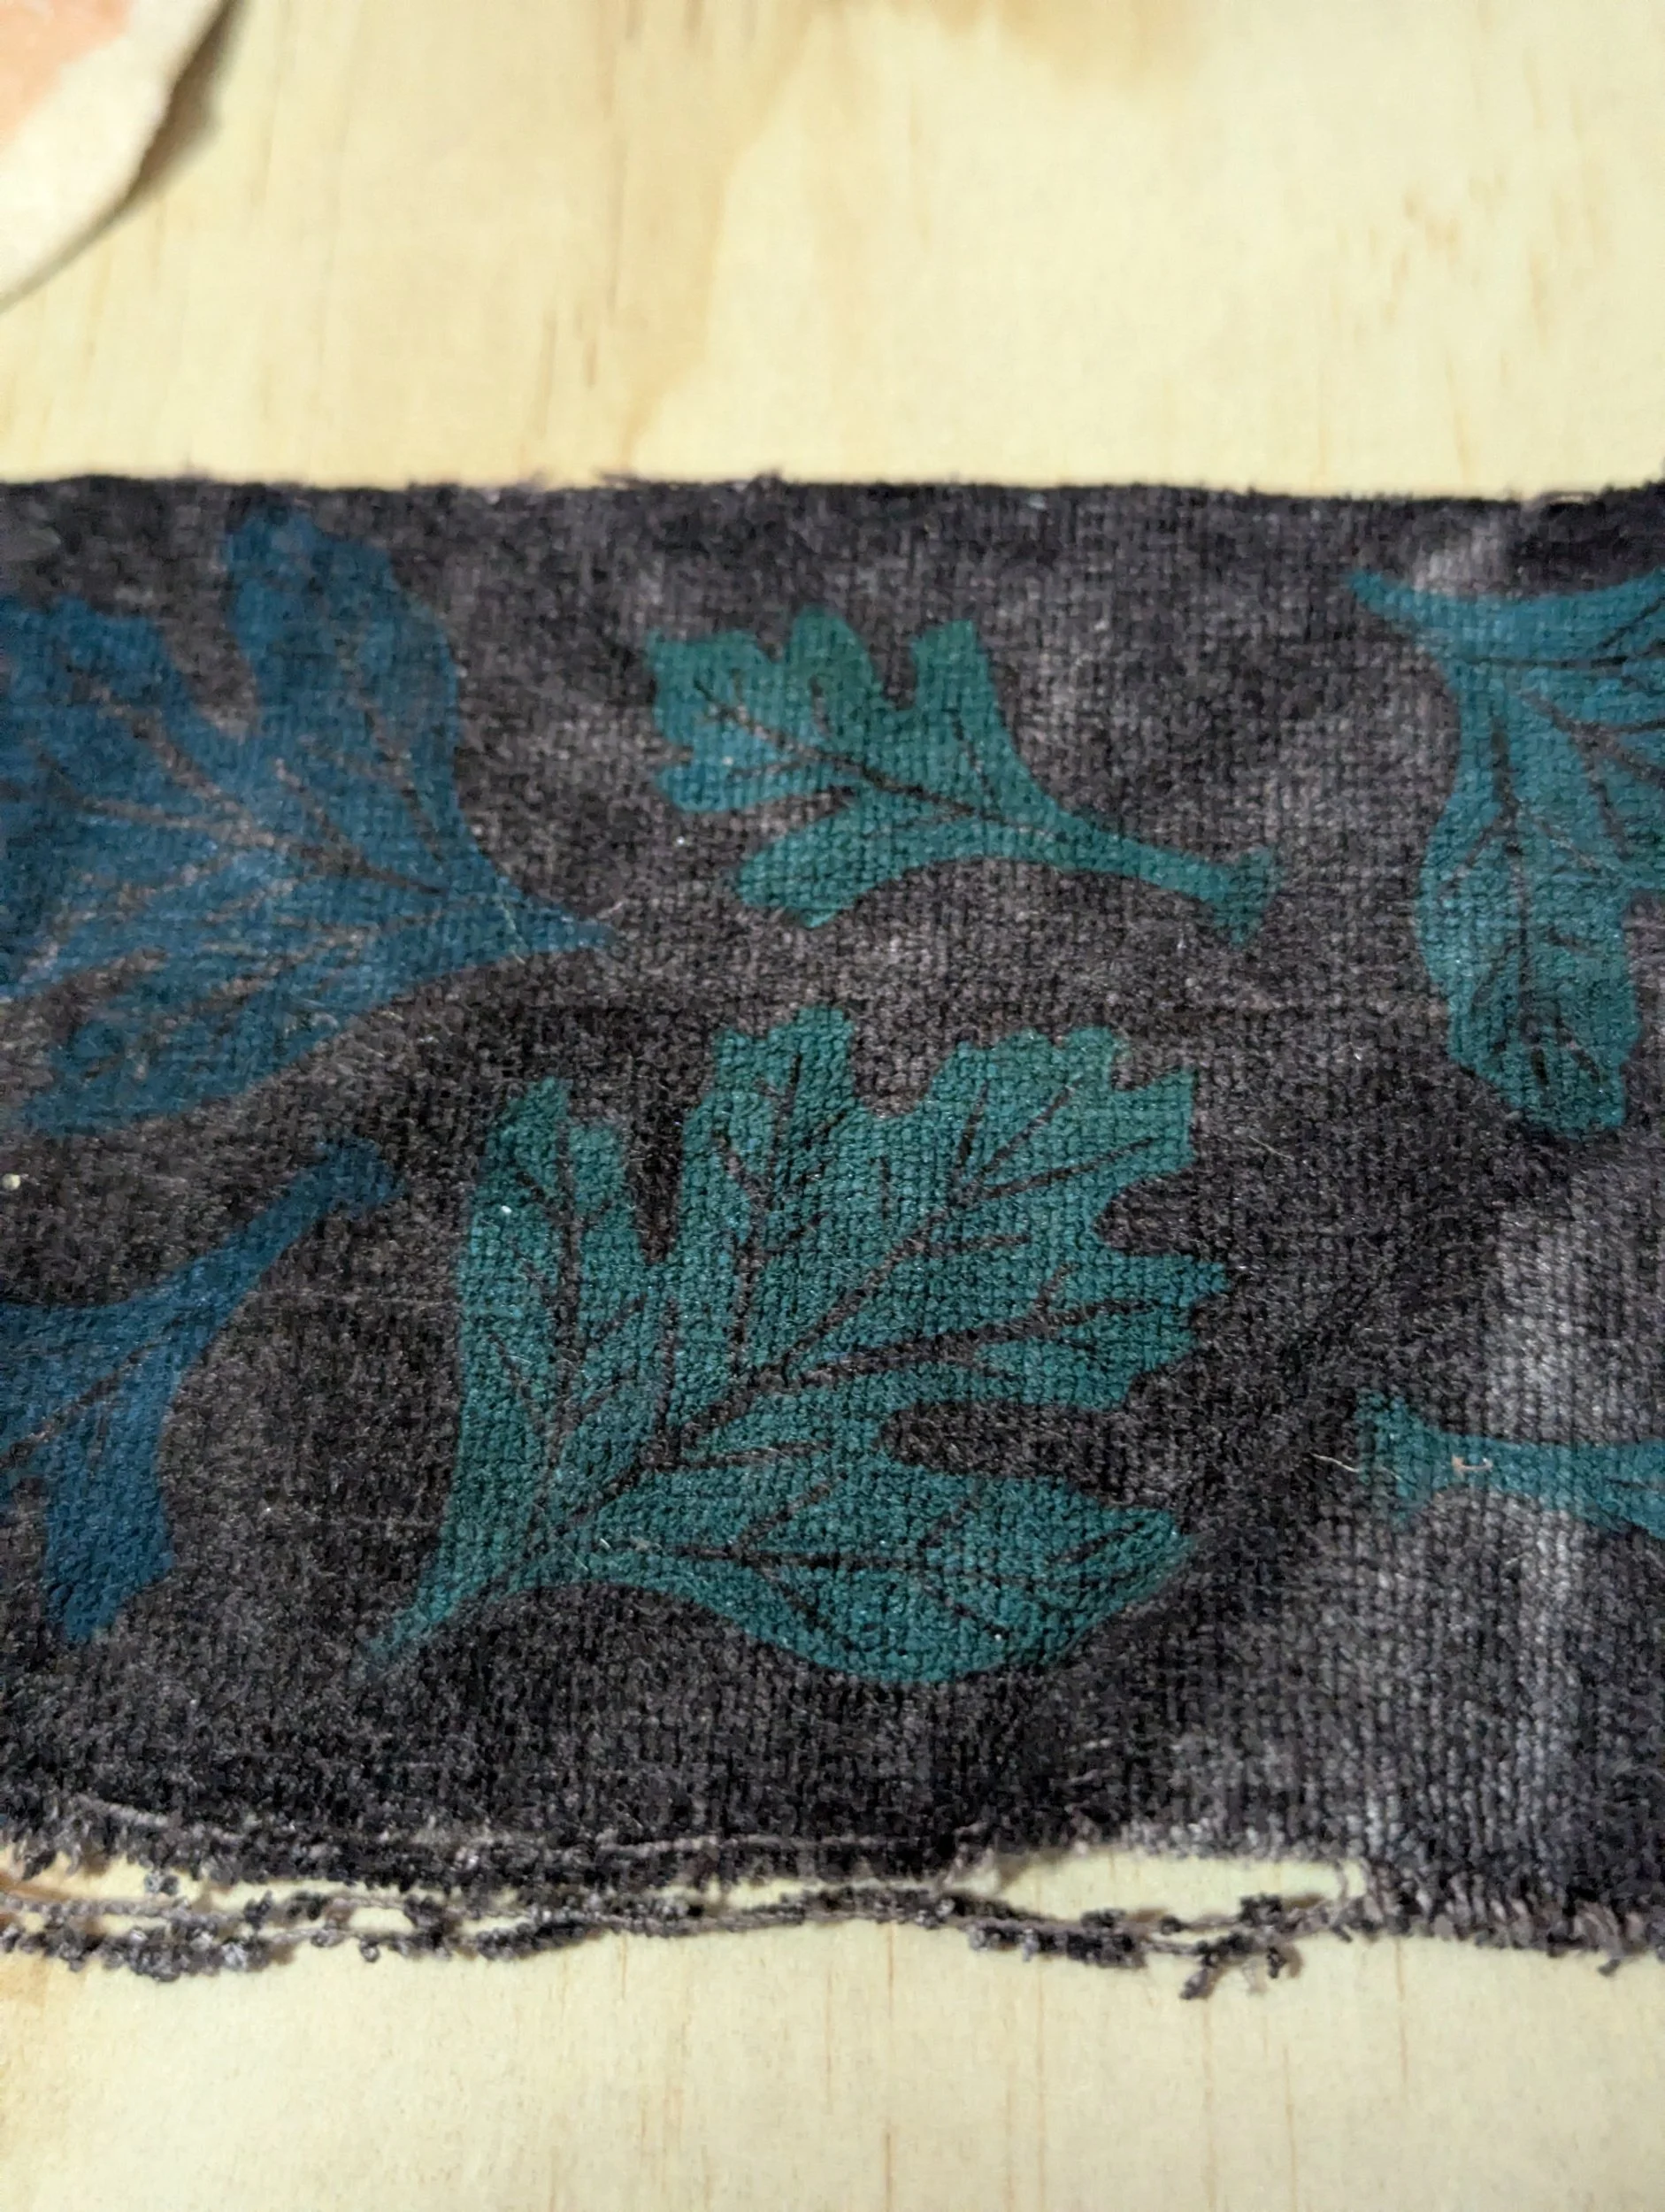
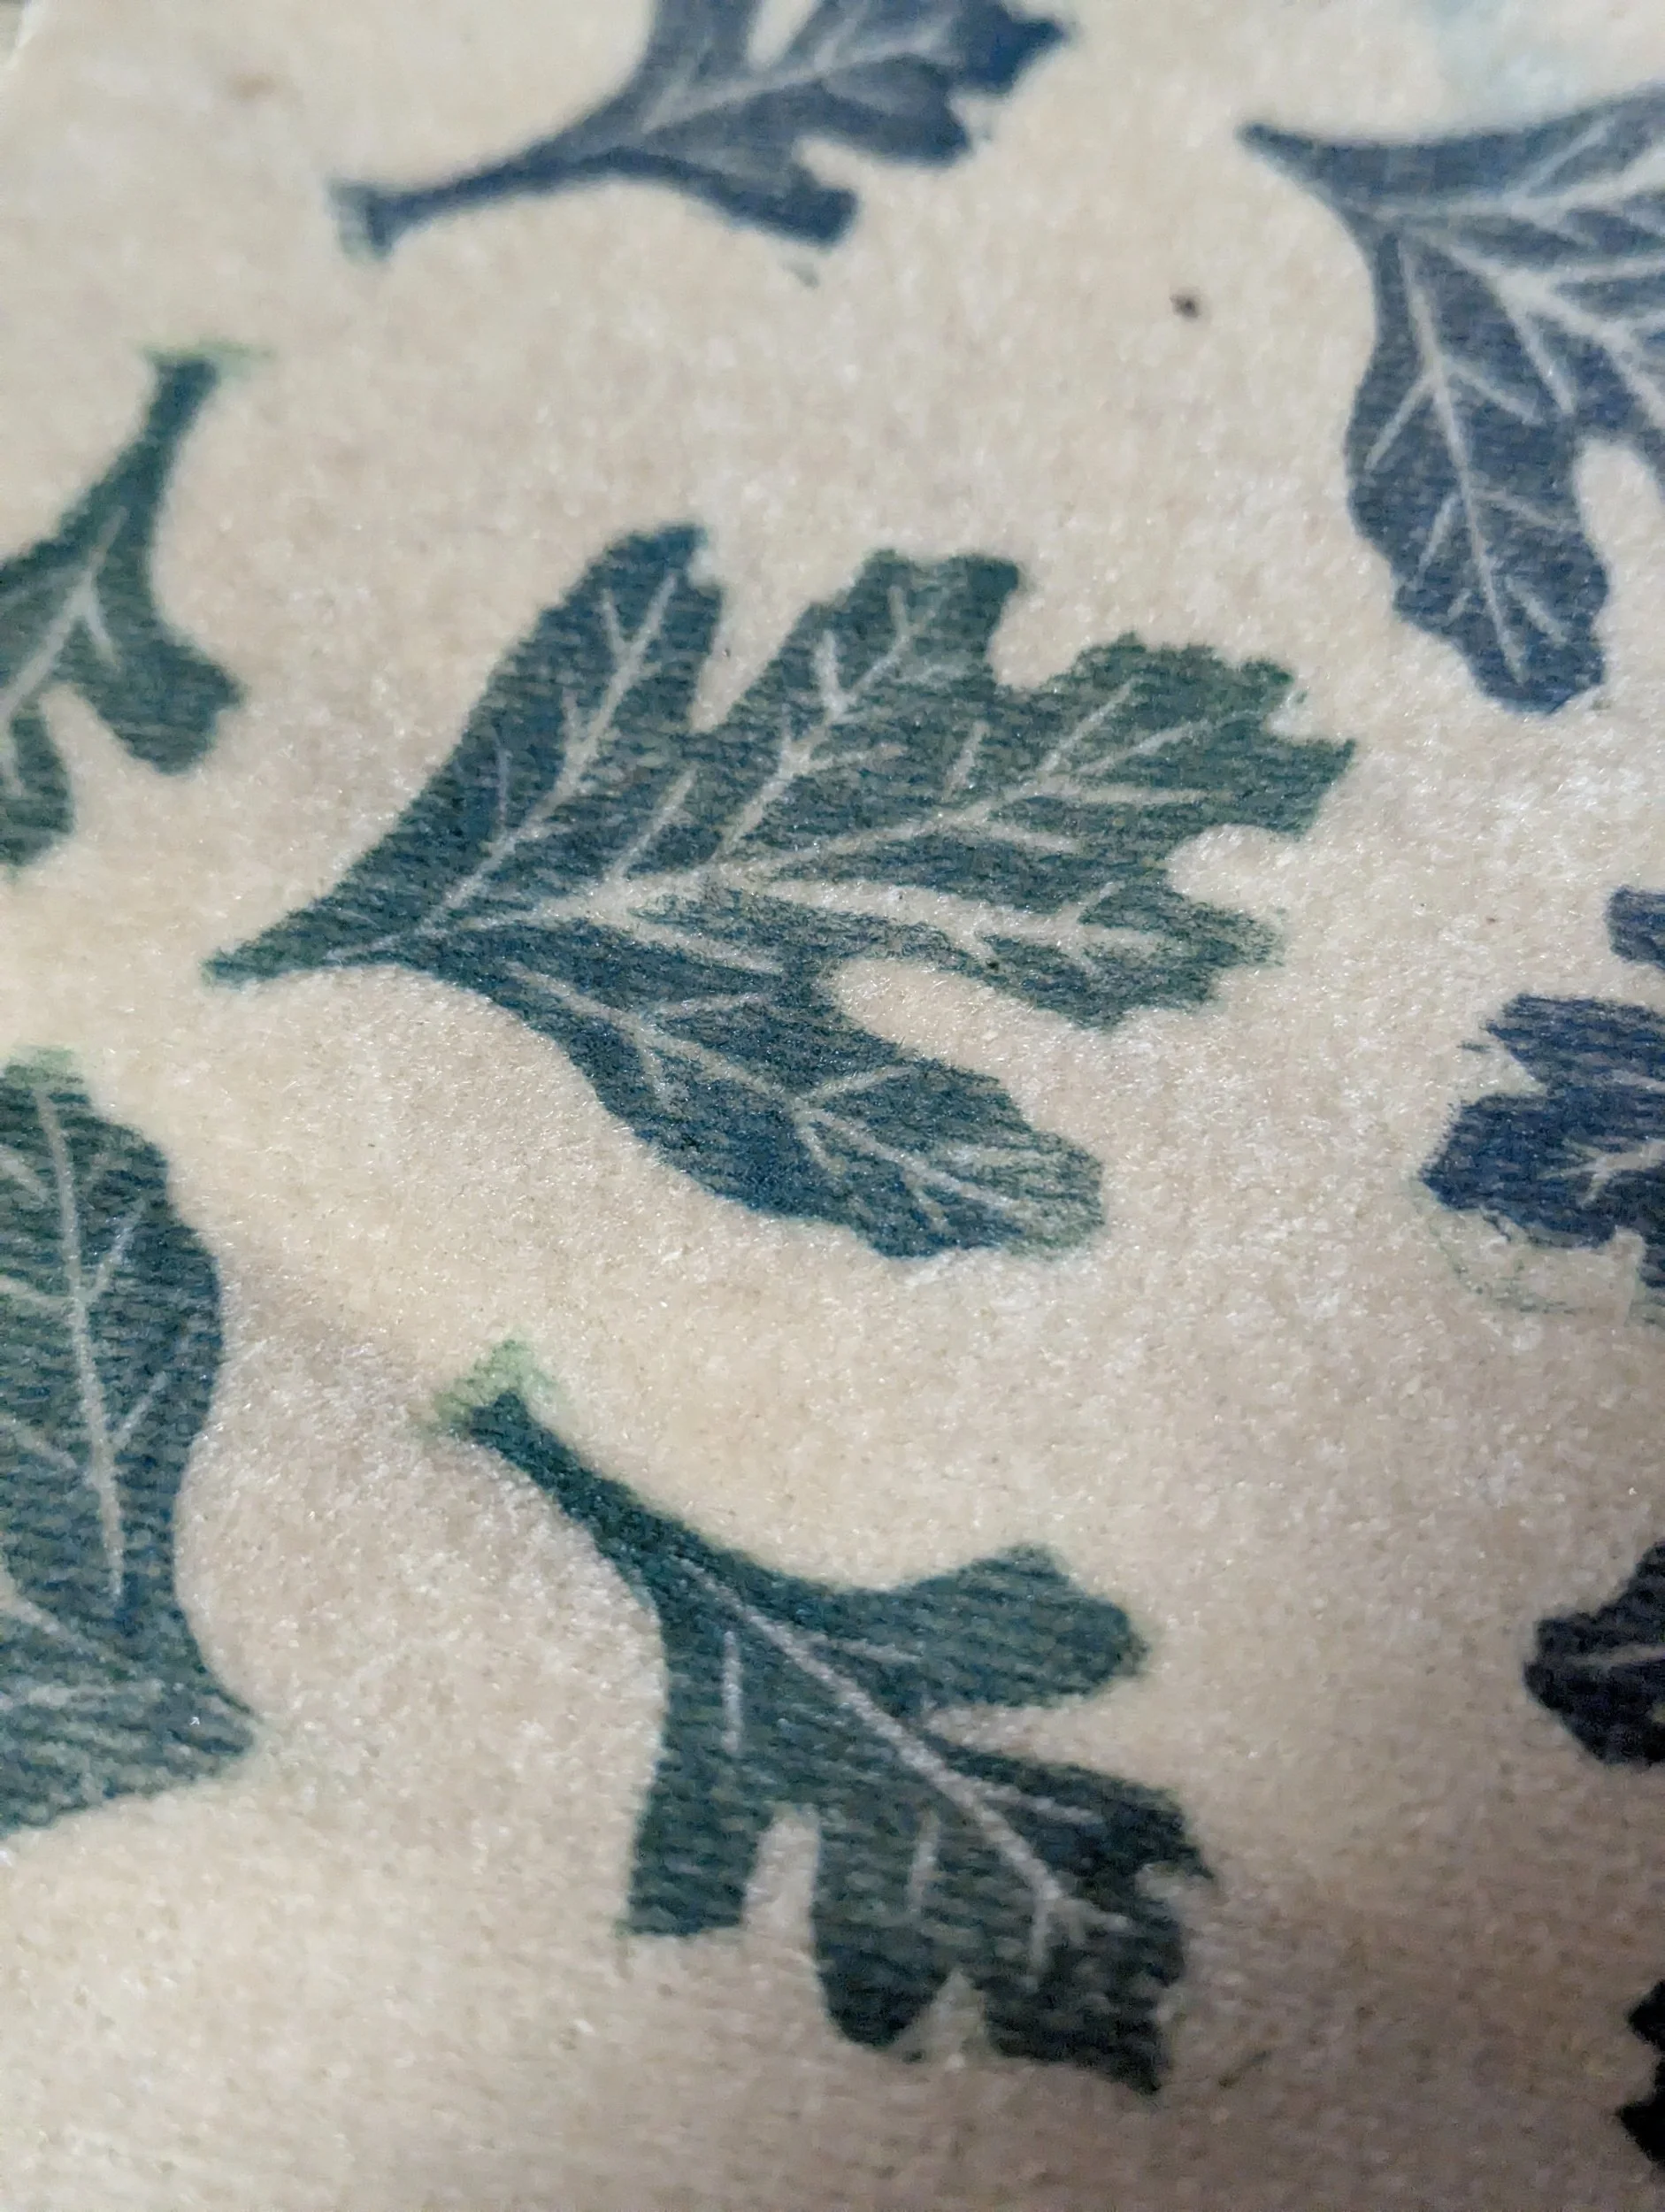
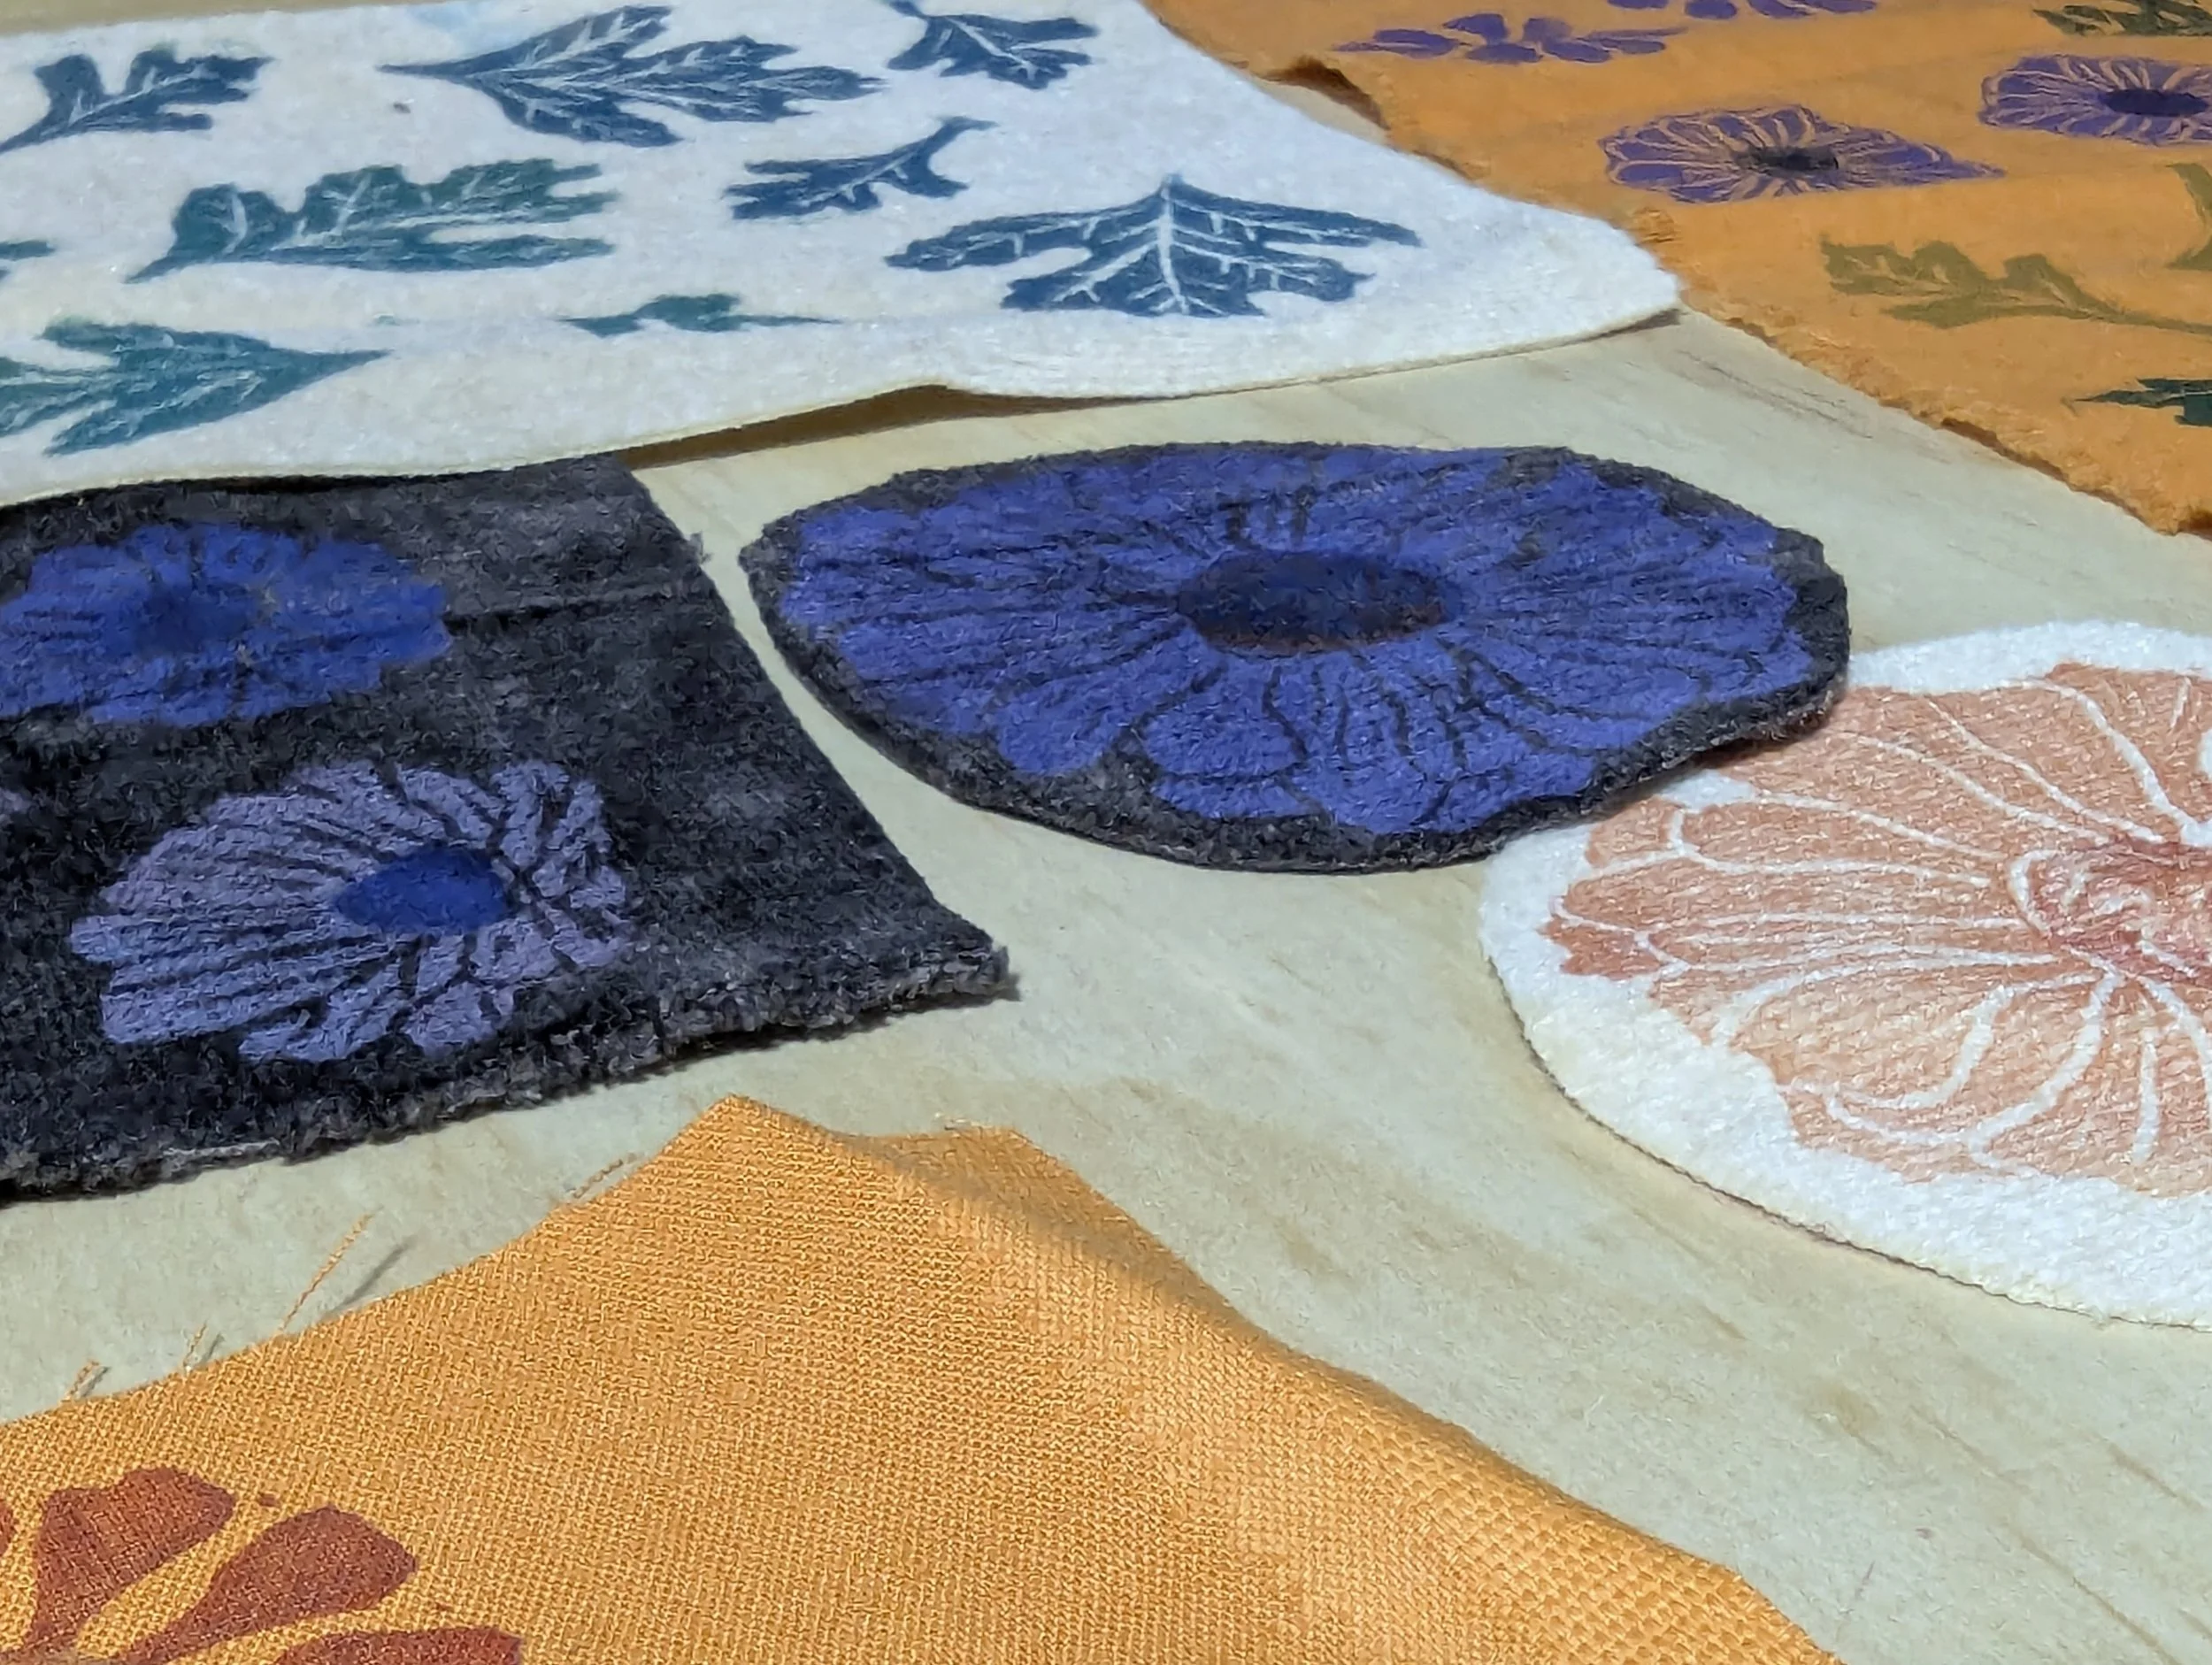
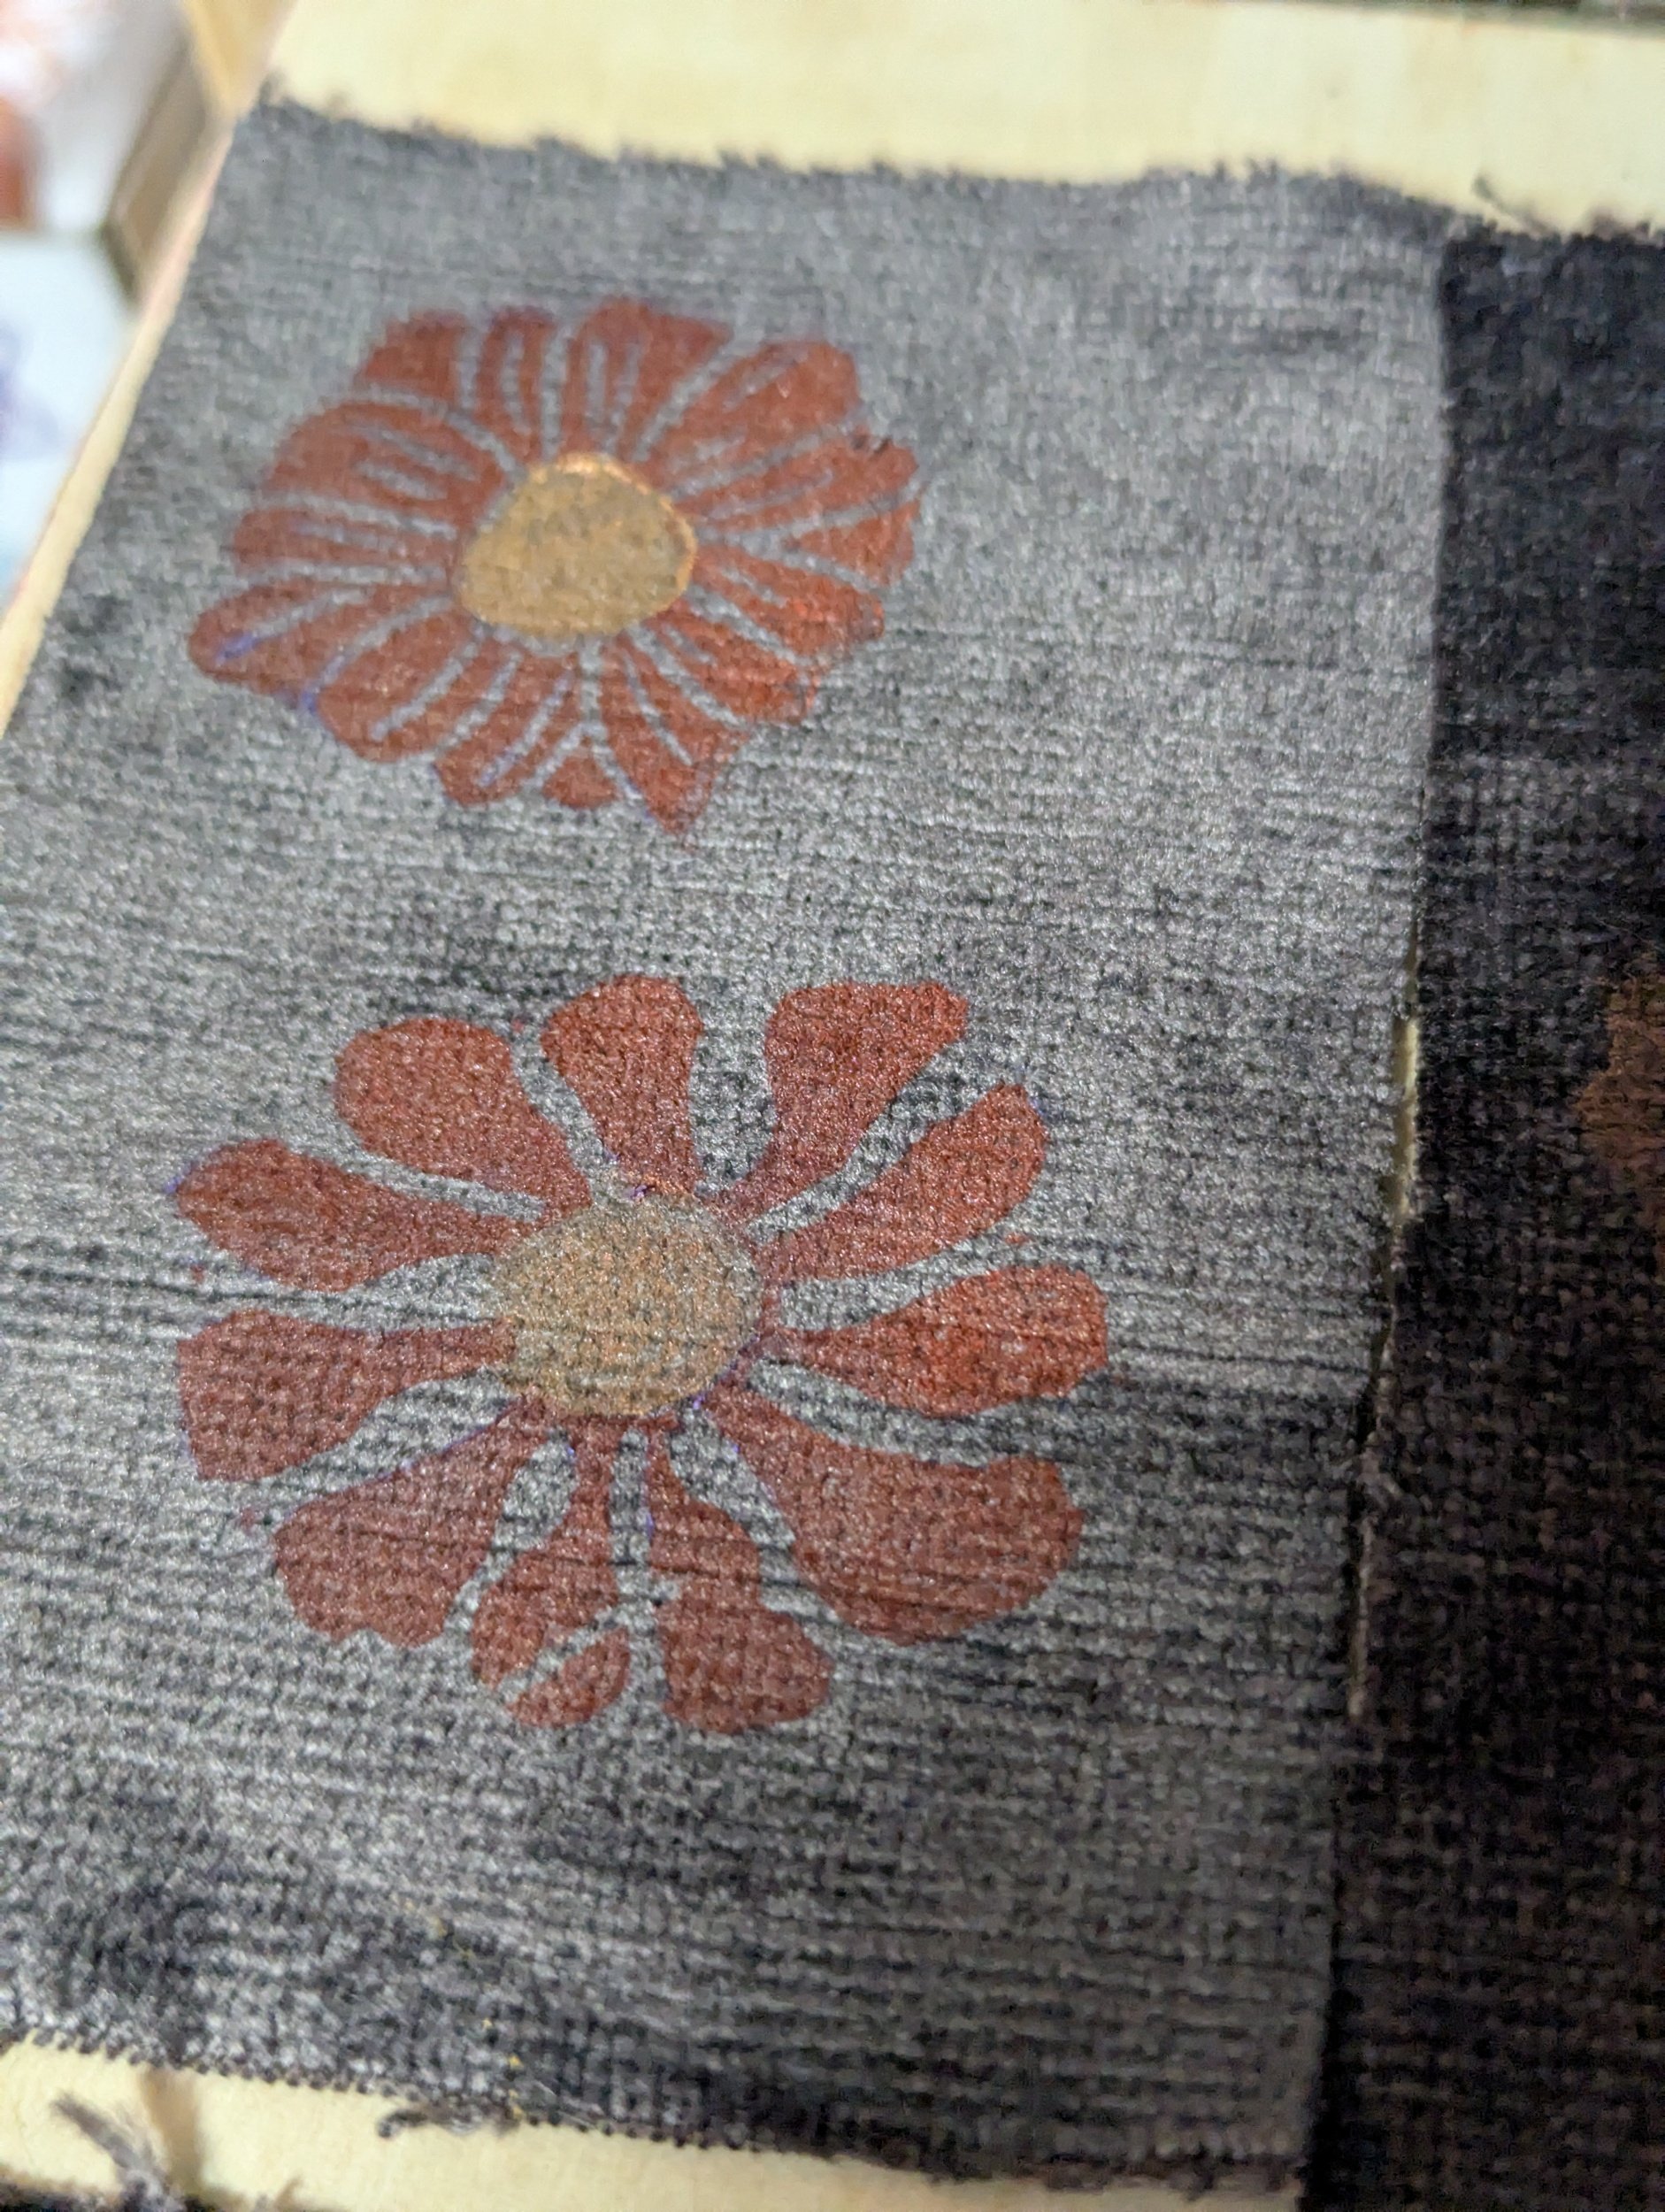
I’ve printed on cotton before with good results, so I was pleased to see some crisp images. What surprised me more was the way the ink sat so nicely on the velvets - I had anticipated some issues with the nap being more textured, but the ink is thick and saturated.
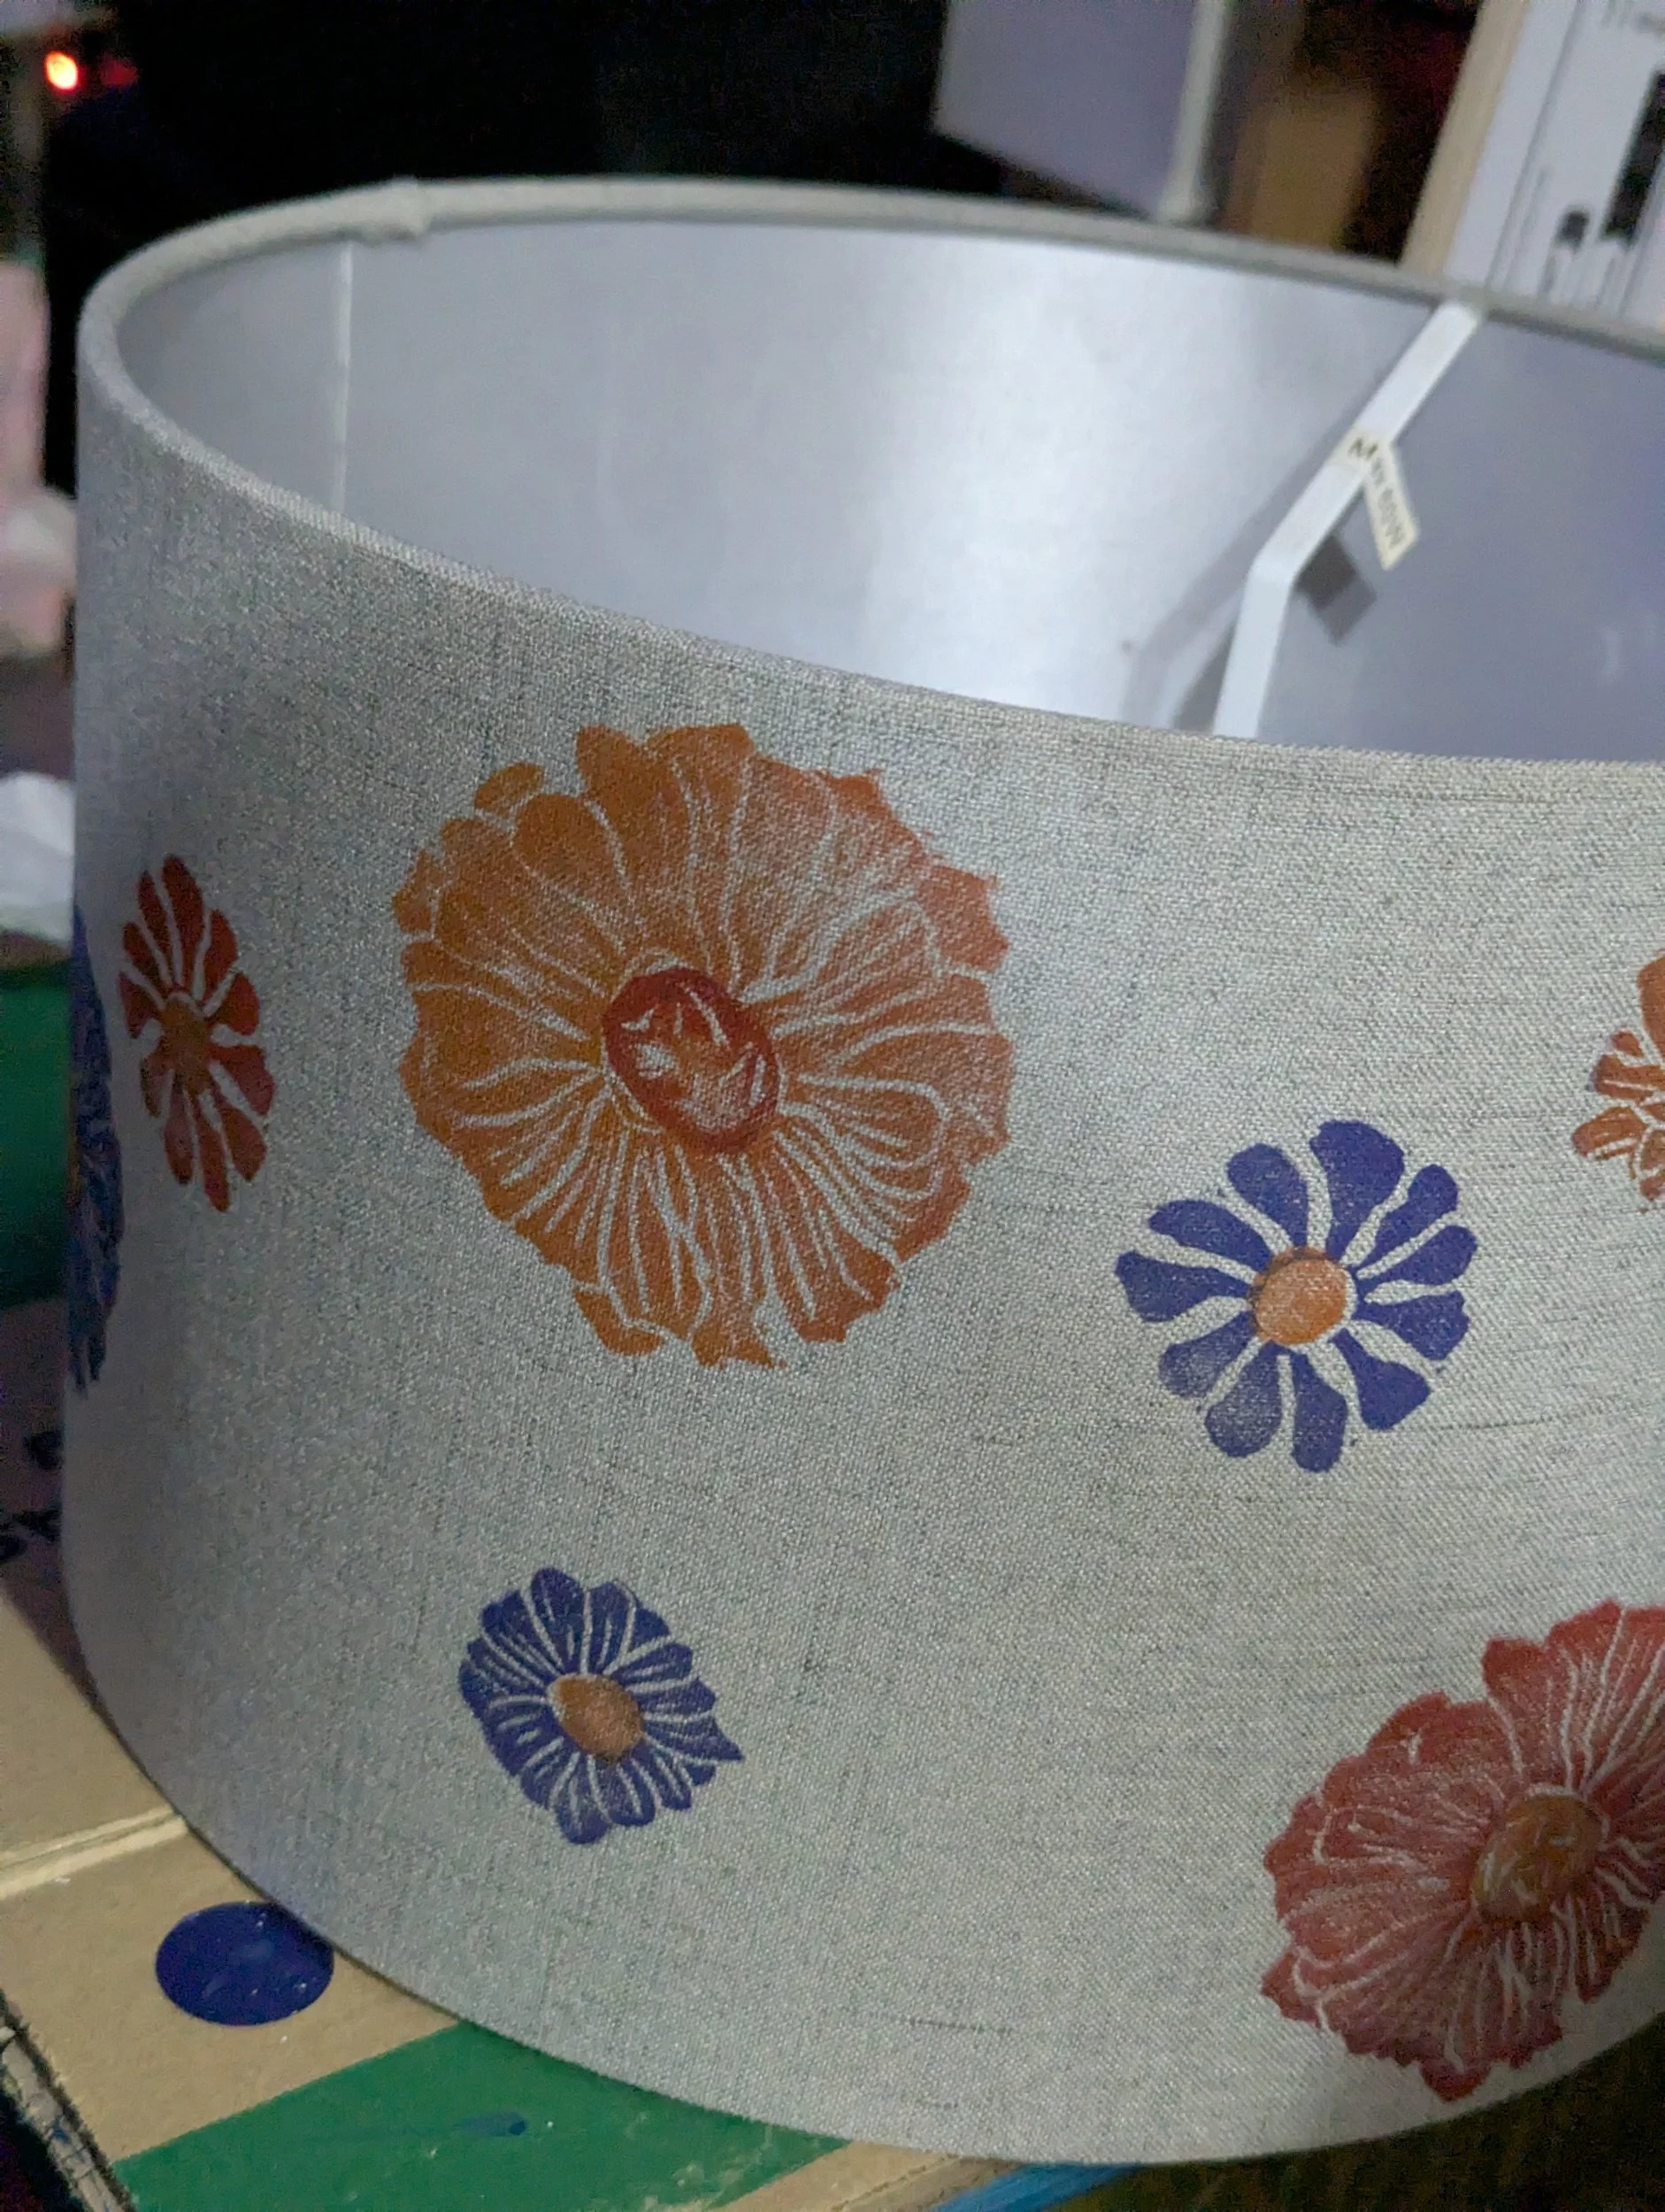
First layers of a hand printed lamp shade for my bedroom (I get to be the guinea pig haha!) - this will have deep pinks and gold and copper elements added once my new inks arrive later this week.
I’ve got to let the ink thoroughly dry on all my test pieces over the next week or so, and then I will heat set the ink using an iron or hairdryer, and then I will be able to test them for wash proofness. Once everything’s proven to stay put I can then follow my vision of making some beautiful hand printed velvet homewares and lampshades to add to the Holmwood Luxe collections! Watch this space for the next round of testing in due course. The pieces I’ve made today won’t go to waste - I’m already eyeing some of them up as appliqué patches/embellishments!